Halloween Hama Beads Tutorial

Hola Halloweenies! Alguien más es fan de las hama beads? Les cuento que hace muy poco tiempo decidí iniciar esta actividad como hobbie y me ha encantado, las posibilidades de crear cualquier imagen, figura o dibujo con estas pequeñas perlitas son infinitas, cada creación puedes personalizarla a tu gusto según el tamaño, el color o el diseño que tu escojas, además que se requieren muy pocos materiales para desarrollar estas técnica.
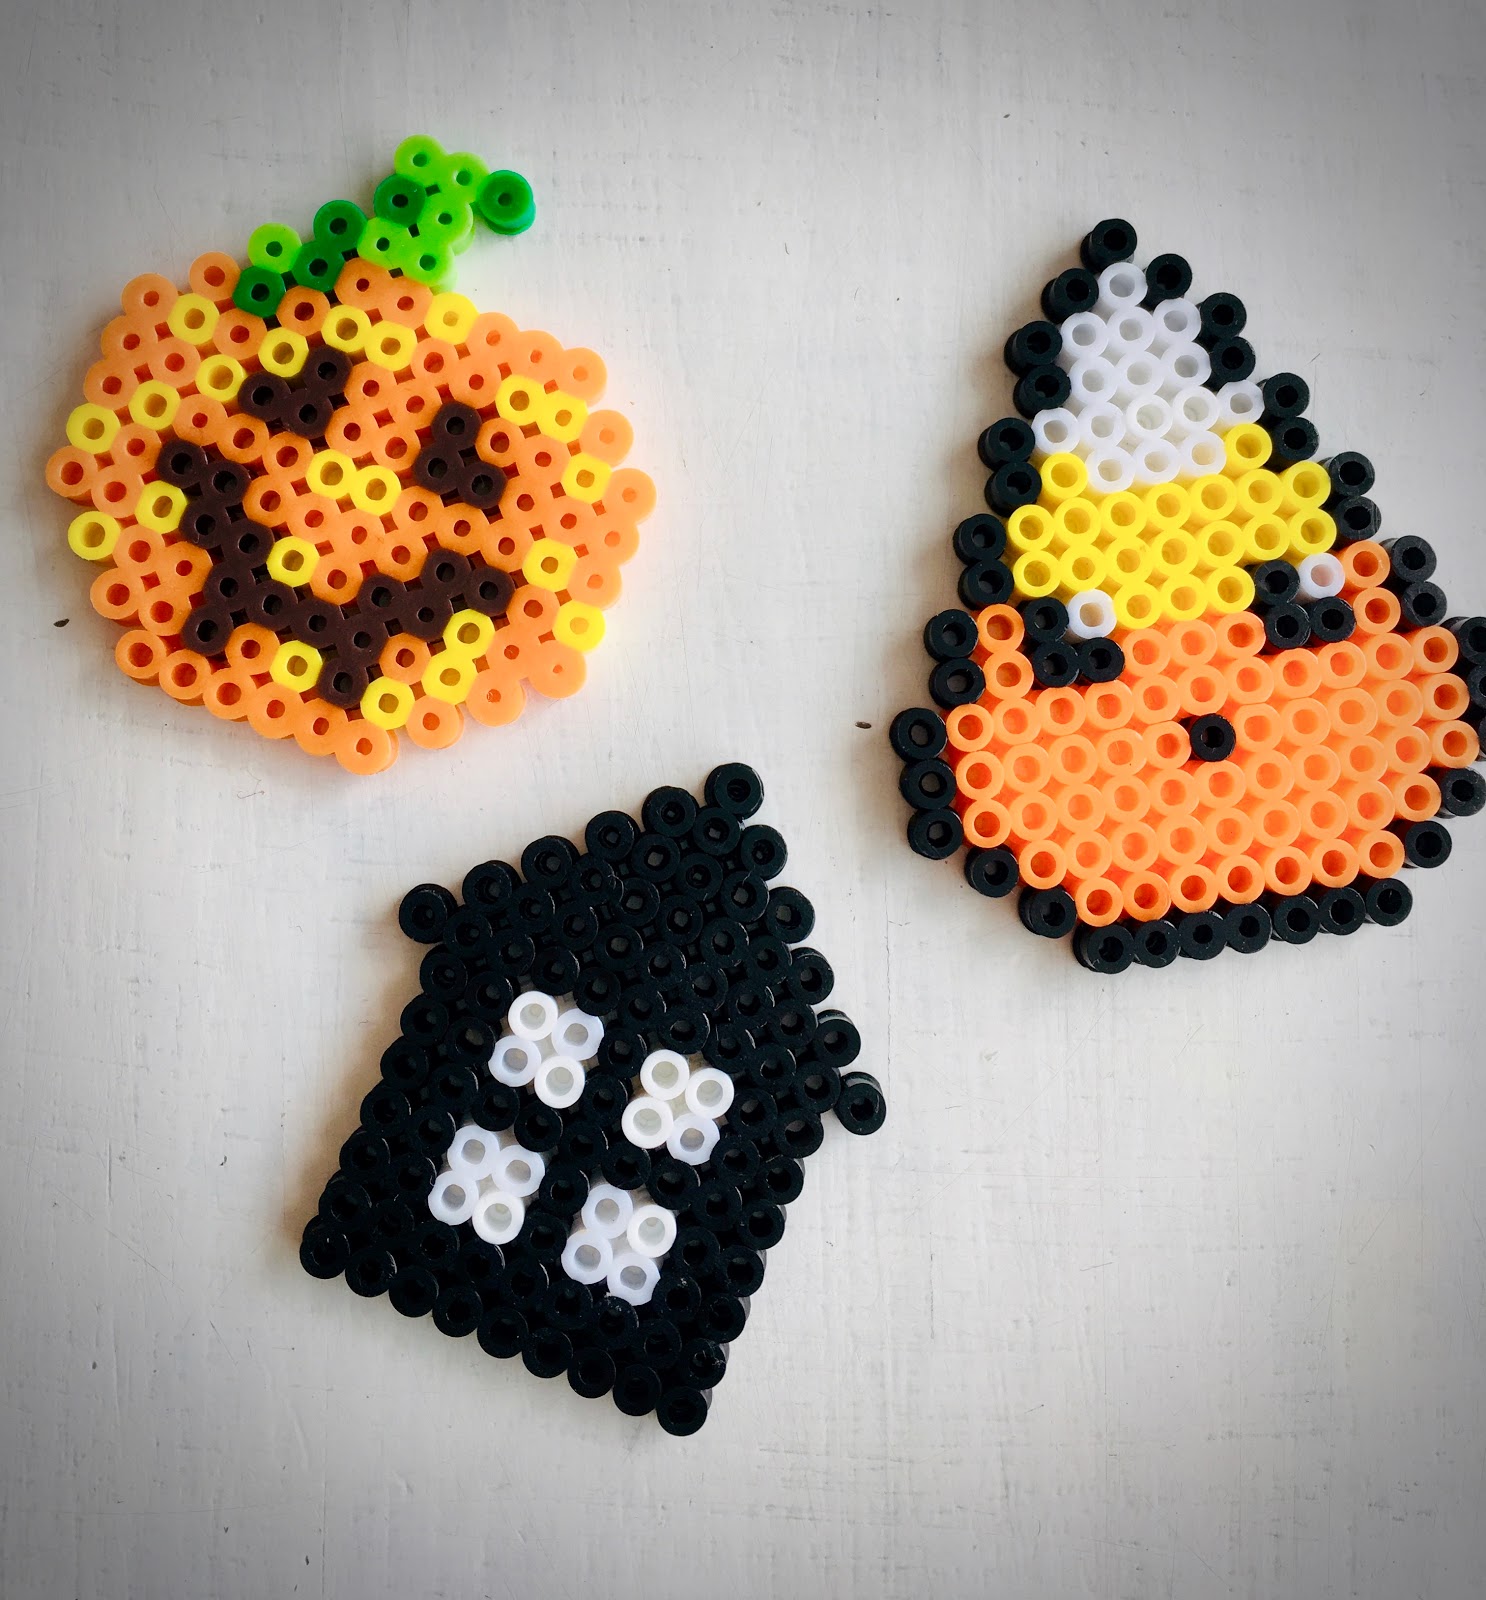
Y como Halloween ya está aquí me di a la tarea de elaborar algunas pequeñas figuras, que pueden servirte para decorar o regalar.
Hello Halloweenies! Is anyone else a fan of the hama beads? I tell you that very recently I decided to start this activity as a hobby and I loved it, the possibilities of creating any image, figure or drawing with these little pearls are endless, each creation you can customize to your liking according to the size, color or design that you choose, besides that very few materials are required to develop these techniques.
And since Halloween is here I decided to make some small figures, which can be used to decorate or give as gifts.

Los materiales que necesitas son:
Hamma o perler beads de muchos colores
Tablero para Hama beads
Pinzas
Papel de planchado
Plancha
Diseño (en este link encontrarás muchísimos diseños y diagramas)
The materials you need are:
Hama or perler beads of many colors
Pegboard for Hama beads
Tweezers
Ironing paper
Iron
Design (in this link you will find many designs and diagrams)

Todo lo que tienes que hacer es seleccionar los colores del diseño que quieres elaborar, es importante que antes de comenzar cuentes las filas y el numero máximo de perlas a utilizar según el largo y ancho de tu figura para asegurarte que tienes la cantidad suficiente tanto de perler beads como de tableros, comienza a insertar las perlas desde la parte inferior de la figura siguiendo tu diseño hasta llegar al final en la parte superior. Una vez terminado coloca el papel sobre el diseño y plancha sobre el a temperatura media tratando de que las perlas se derritan un poco y el diseño quede perfectamente pegado, deja enfriar, retira del tablero y listo, a decorar!
Puedes usar las figuras para decorar regalos, elaborar tarjetas, llaveros, adornos para celular, clips, separadores de libros o puedes enmarcar tu diseño para decorar tu espacio, las posibilidades son infinitas!
All you have to do is select the colors of the design you want to make, it is important that before starting count the rows and the maximum number of pearls to use according to the length and width of your figure to ensure you have enough of both Perler beads like boards, start inserting the beads from the bottom of the figure following your design until you reach the end at the top. Once finished place the paper on the design and iron at medium temperature trying to make the pearls melt a bit and the design is perfectly stuck, let cool, remove from the board and is ready to decorate!
You can use the figures to decorate gifts, make cards, key chains, cell phone decorations, clips, book dividers or you can frame your design to decorate your space, the possibilities are endless!


Te animas a elaborar alguna de estas figuras? Platícame en en la cajita de comentarios, gracias por leerme.
Do you dare to make any of this figures? Write me in the comment box, thanks for reading.
Happy Halloween! 🎃🎃🎃


